About
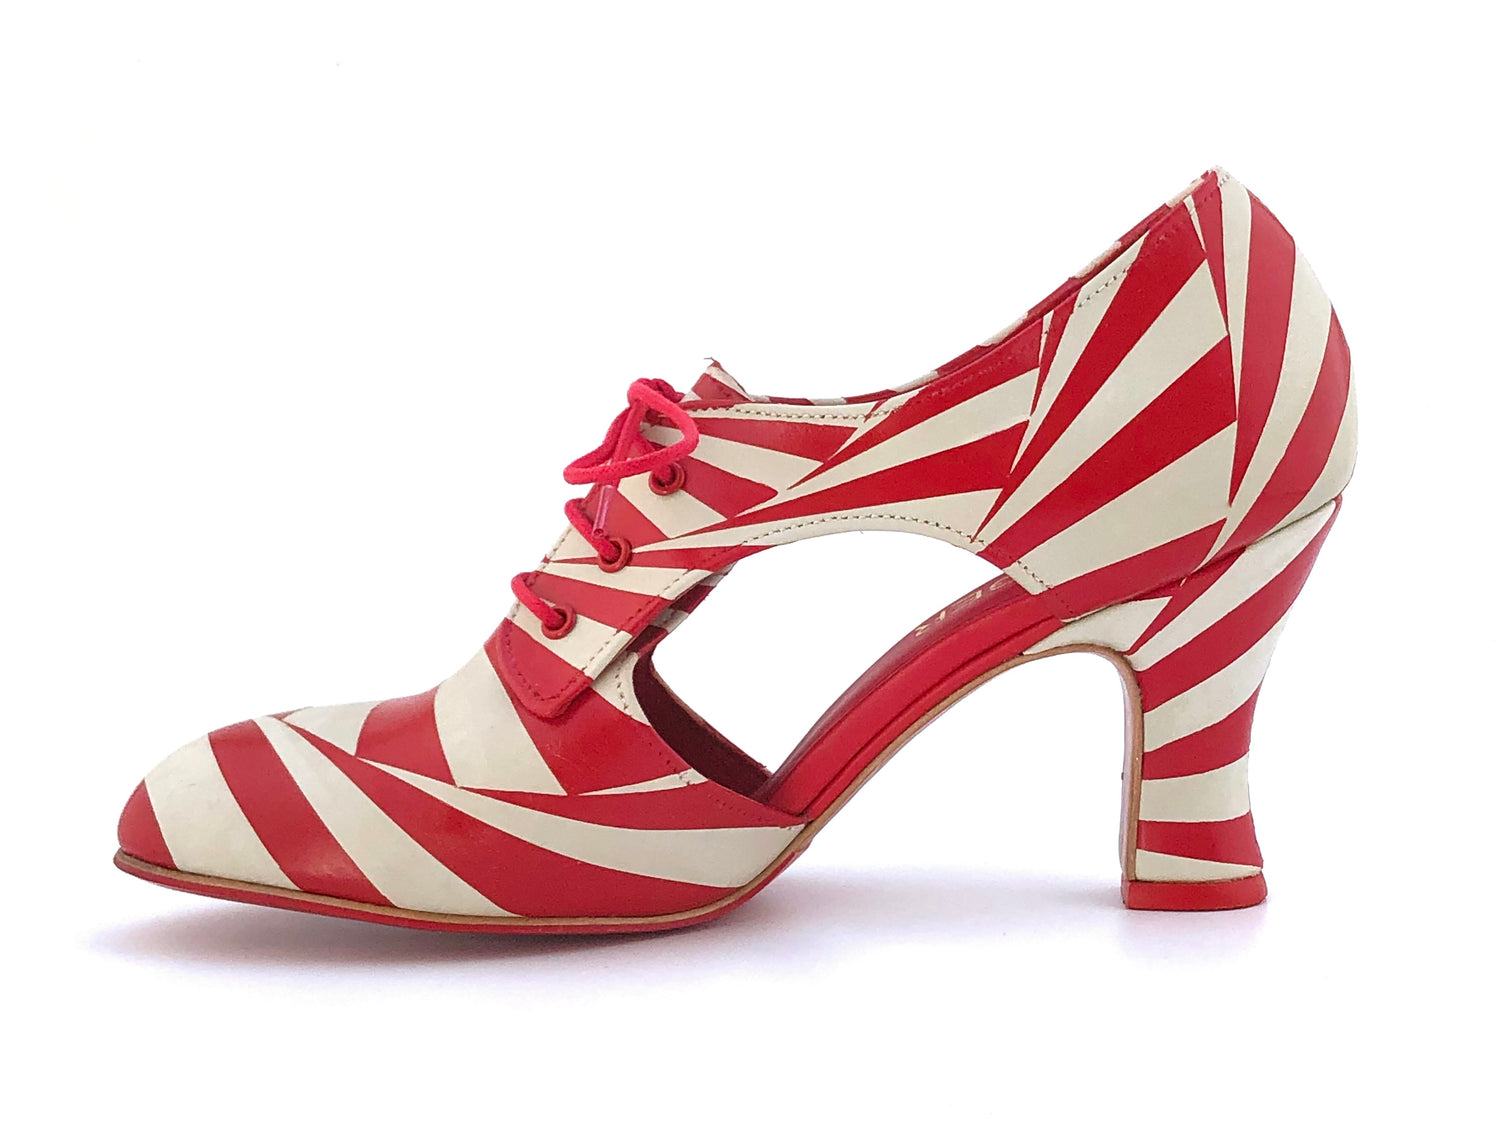
Torger is a niche luxury footwear brand created by Shauna Torgerson. Every pair is exclusively handmade and hand painted with bespoke one-of-a-kind and limited series designs, bringing a unique wearable art form to the discerning individual.
Made in small quantities with high quality materials, including leather sourced from some of the best tanneries in the world (Tanneries Du Puy and RMG Pomari), Torger footwear is meant to last a lifetime with easily repairable components.
Based just north of Toronto Canada, Shauna creates each pair by hand in her studio, alongside purses, bags, oil paintings and murals.
The Making of a Shoe
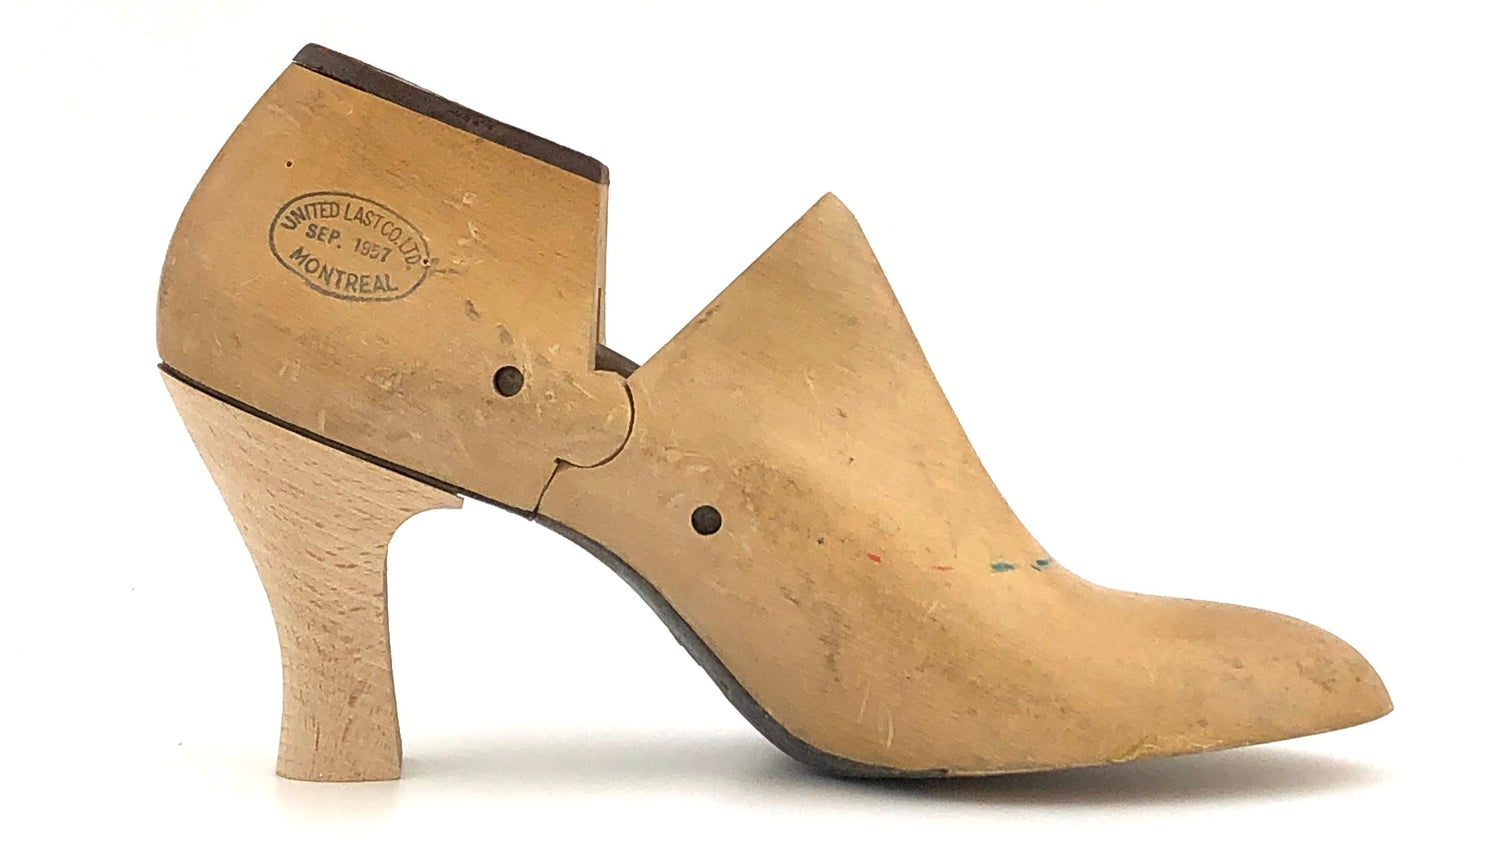
The making of a Torger shoe starts with a shoe last: A form in which the parts of a shoe are molded or 'lasted' over.
Step 1: Creating the Design
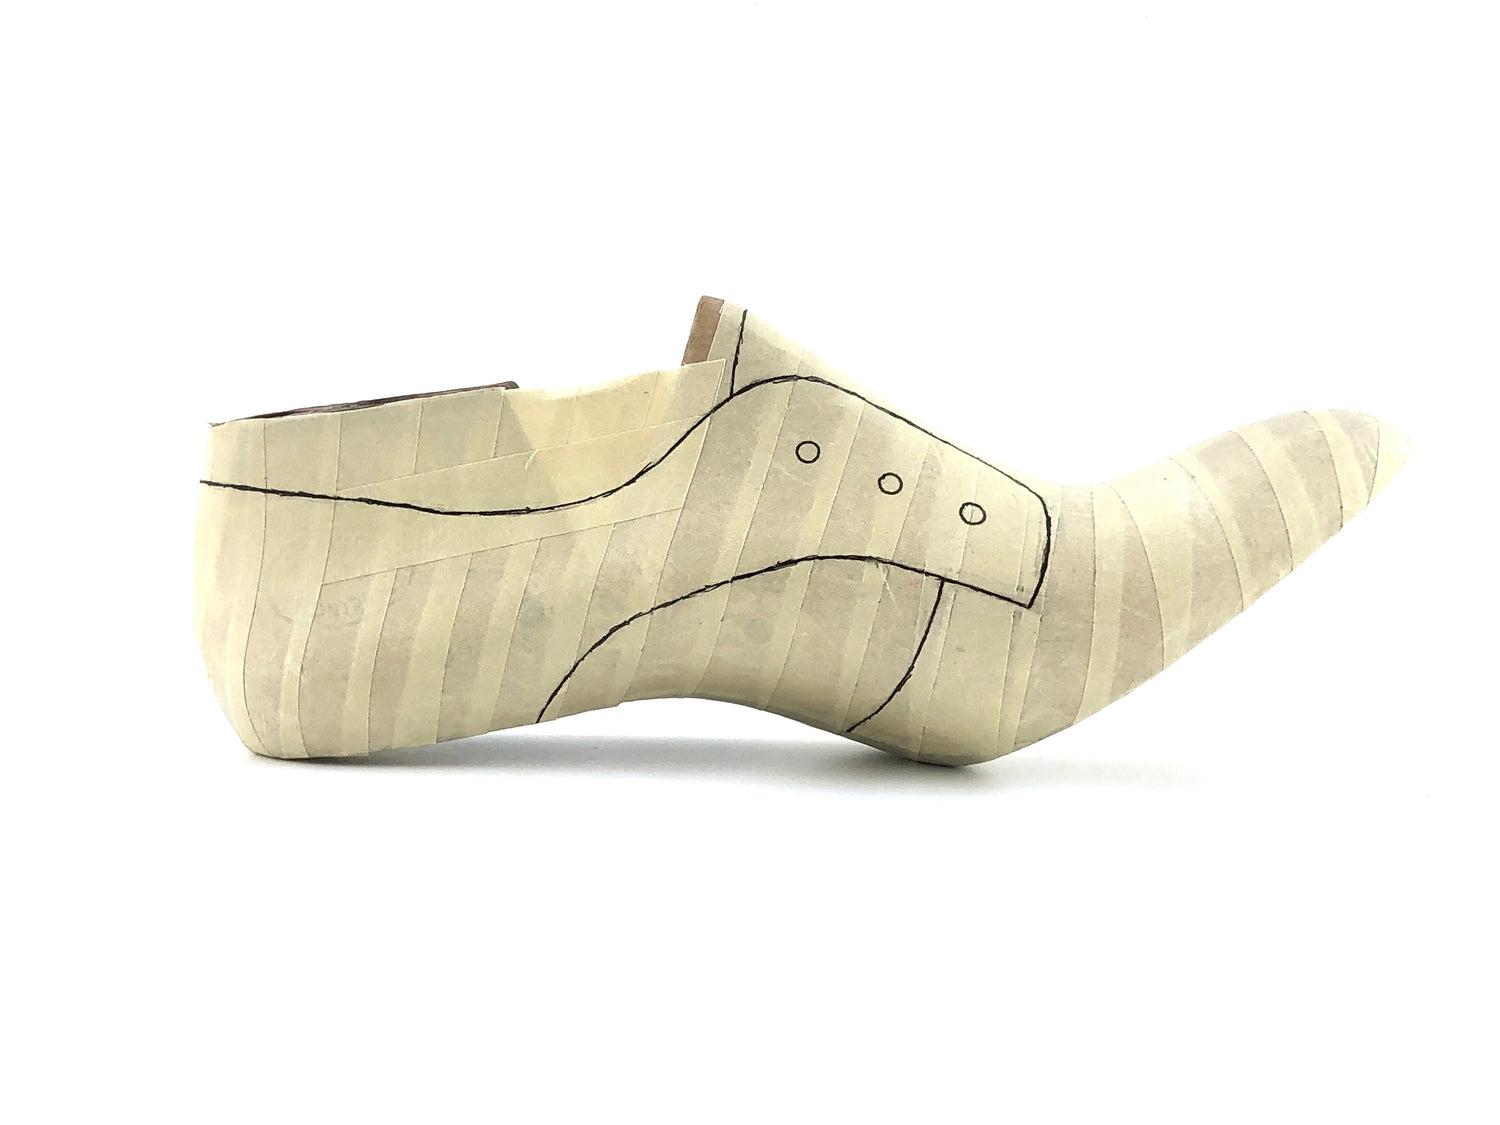
With the aid of masking tape, a pencil and measuring tape, the design for the shoe is drawn directly onto the last. The tape is then removed carefully and placed onto paper or card stock to use as the basis for making the pattern. Pattern testing is done with fabric or paper before moving on to the final material.
Step 2: Pattern Making
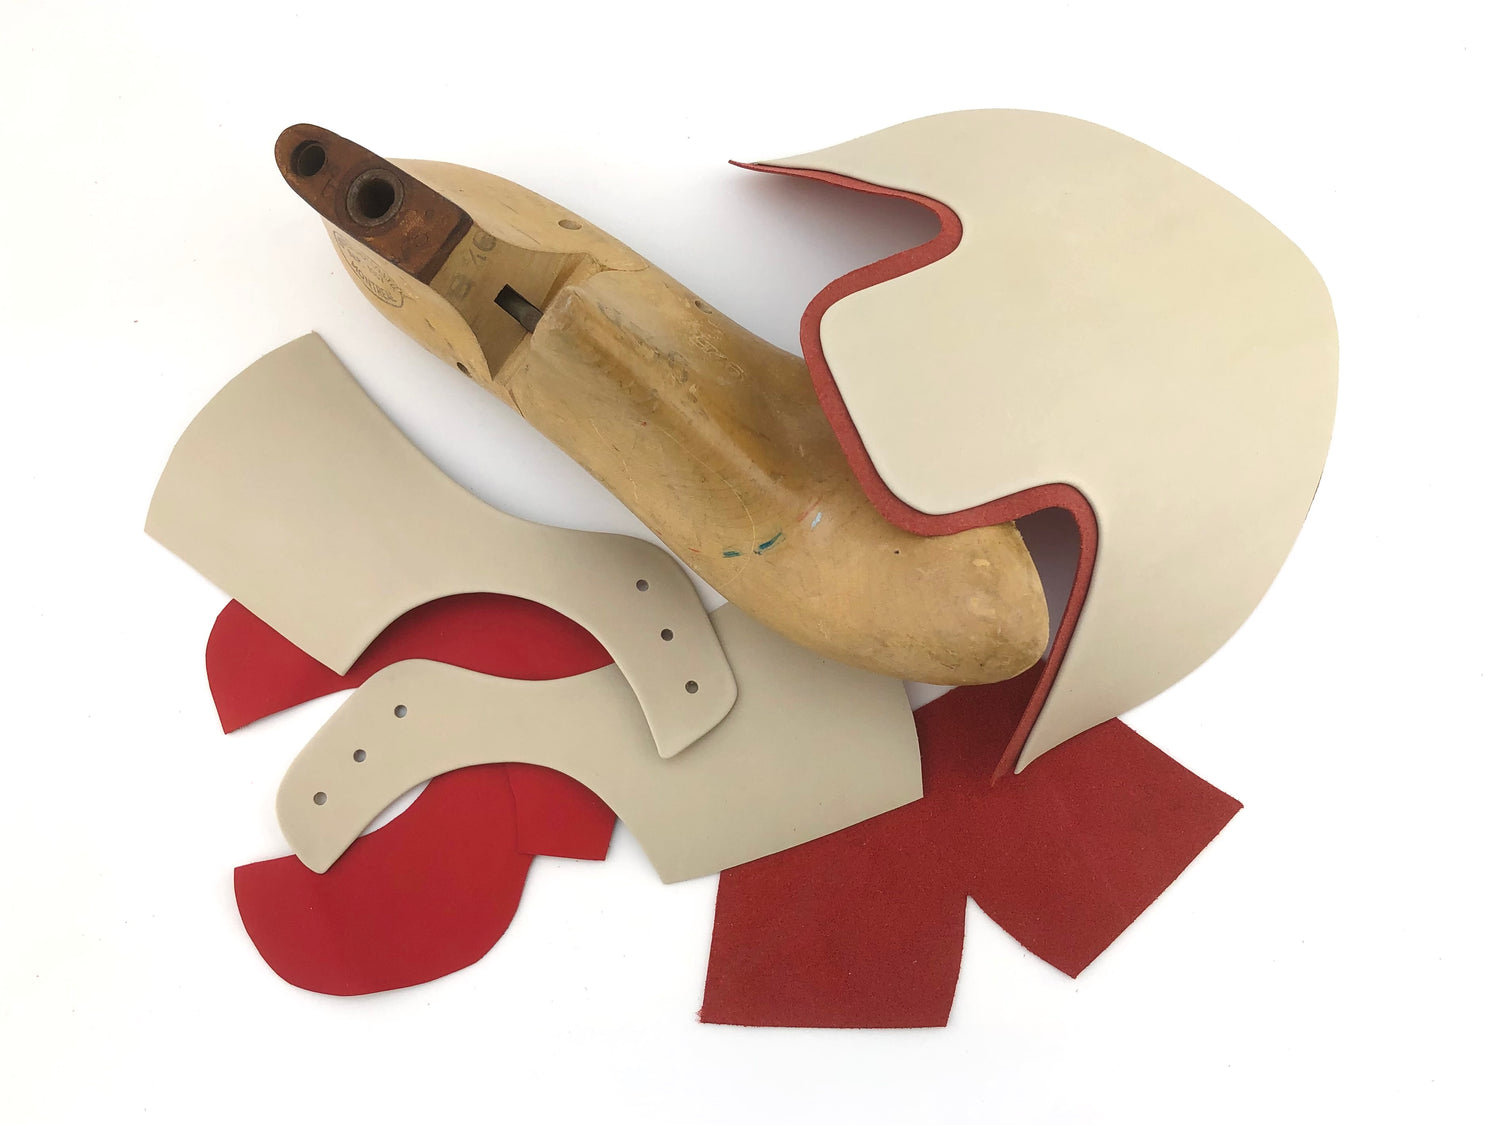
Both a liner and an upper pattern are created and used to cut out the upper and liner components of the shoe.
In most cases the upper material of a Torger shoe is made with a full grain crust (unfinished) leather, tanned specifically for hand dyeing/painting. The liner is made with a luxe full grain aniline leather; very soft on the feet!
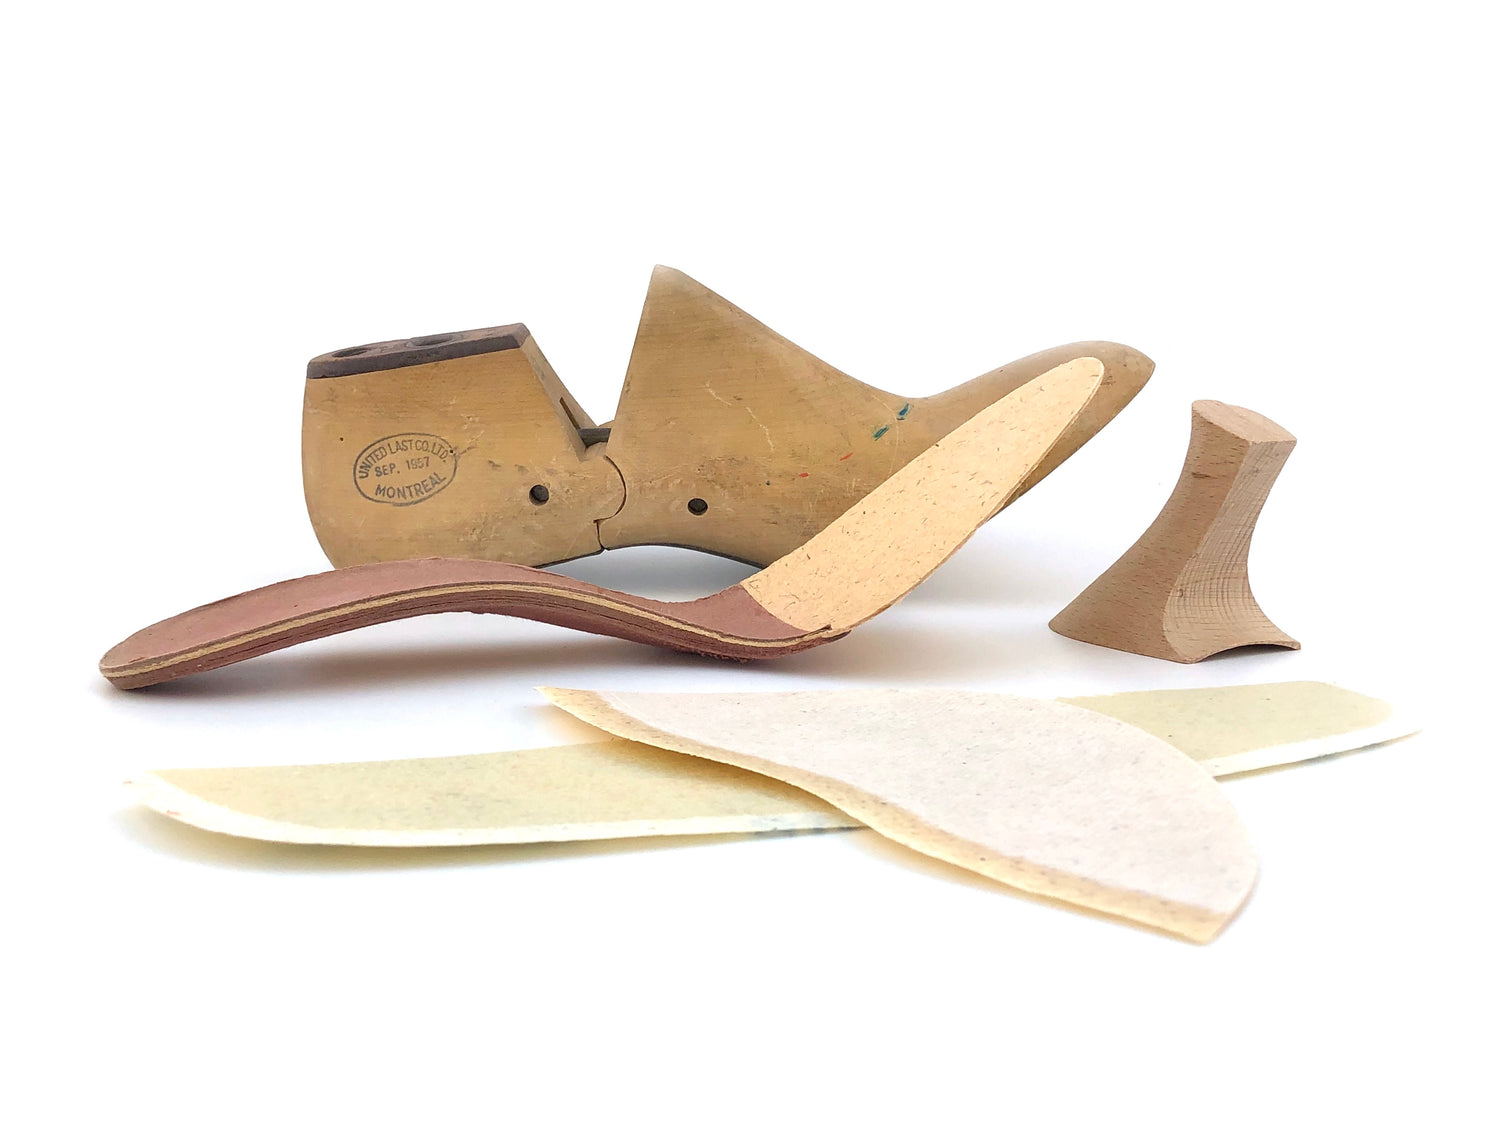
The inner construction of a shoe consists of 3 or more crucial components. These components add structure and support to every shoe. A high heel uses shanked insoles, toe puffs, heel counters and side support.
Components can be made with veg tanned leather, steel shanks, cellulose board, celastic and/or thermoplastics.
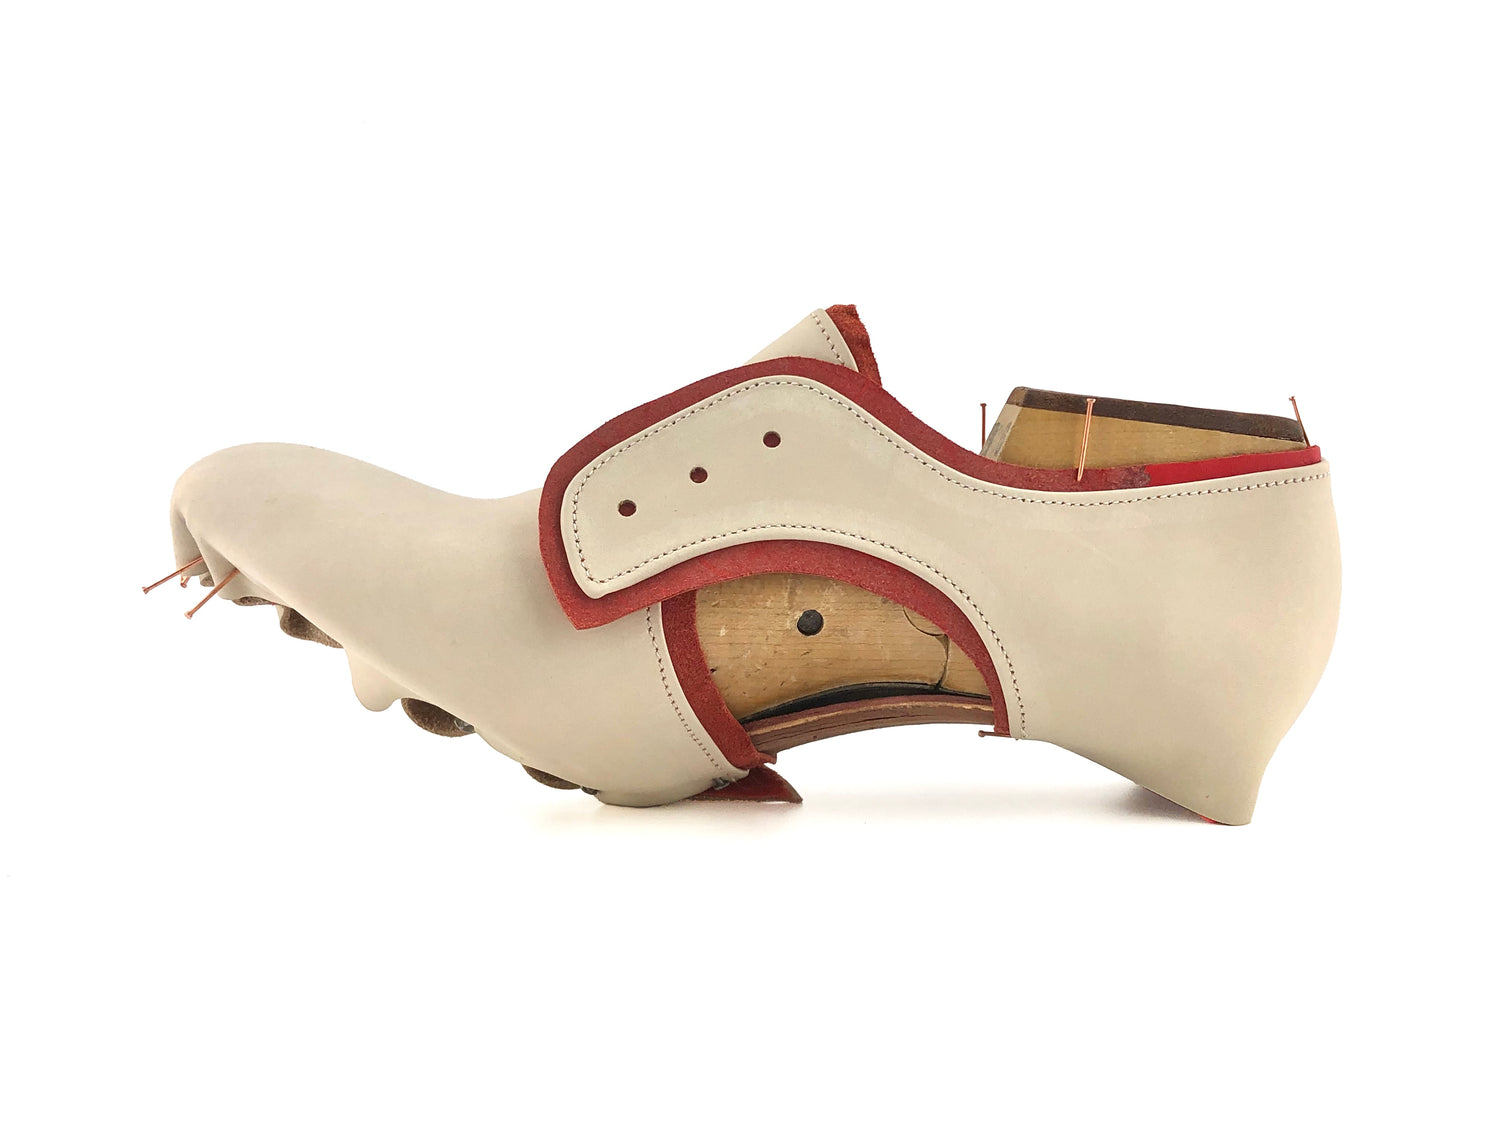
Step 3: Sewing and Stretching
After sewing the upper and liner material it's then pre-stretched over the last and shanked insole (mentioned above). This can take several stages depending on the design. For firmer leathers, the leather is soaked in water before lasting.
Aids such as a crimping board come in handy for pre-stretching leather before cutting and sewing.
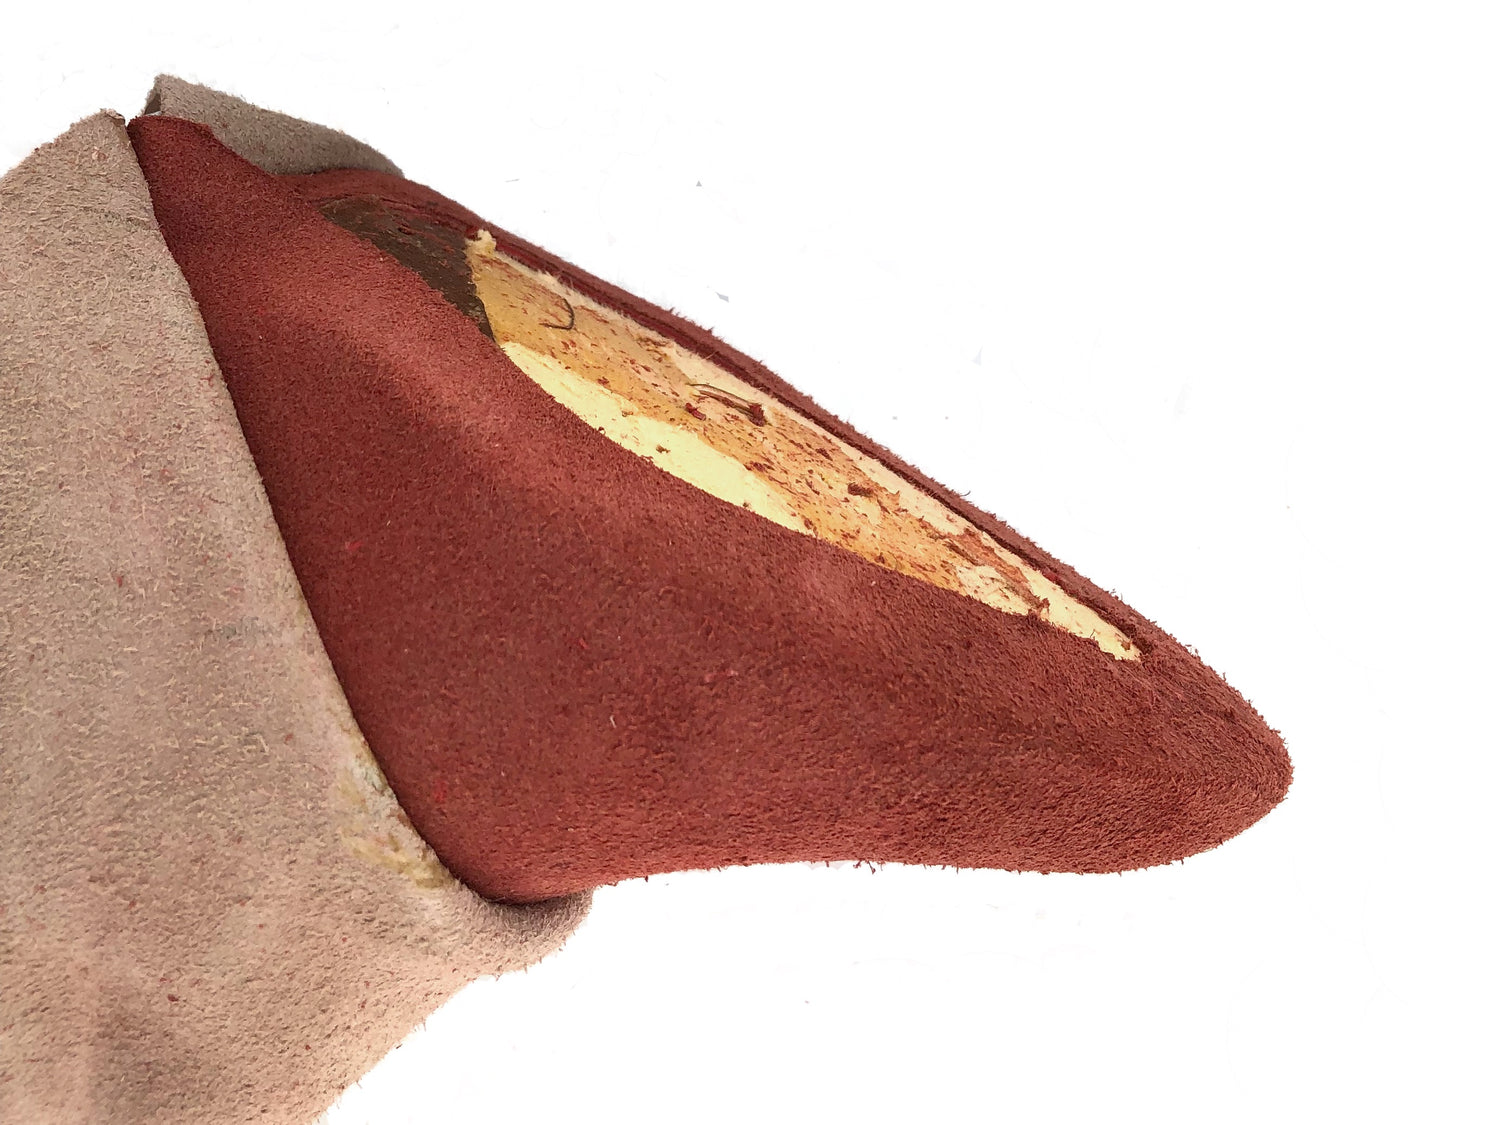
Step 4: Lasting the Liner
After pre-stretching/pre-lasting the leather, the shoe can then be constructed. This step is done in layers.
The liner is stretched and glued onto the insole first. Excess material is cut and shaved off to create an even surface.
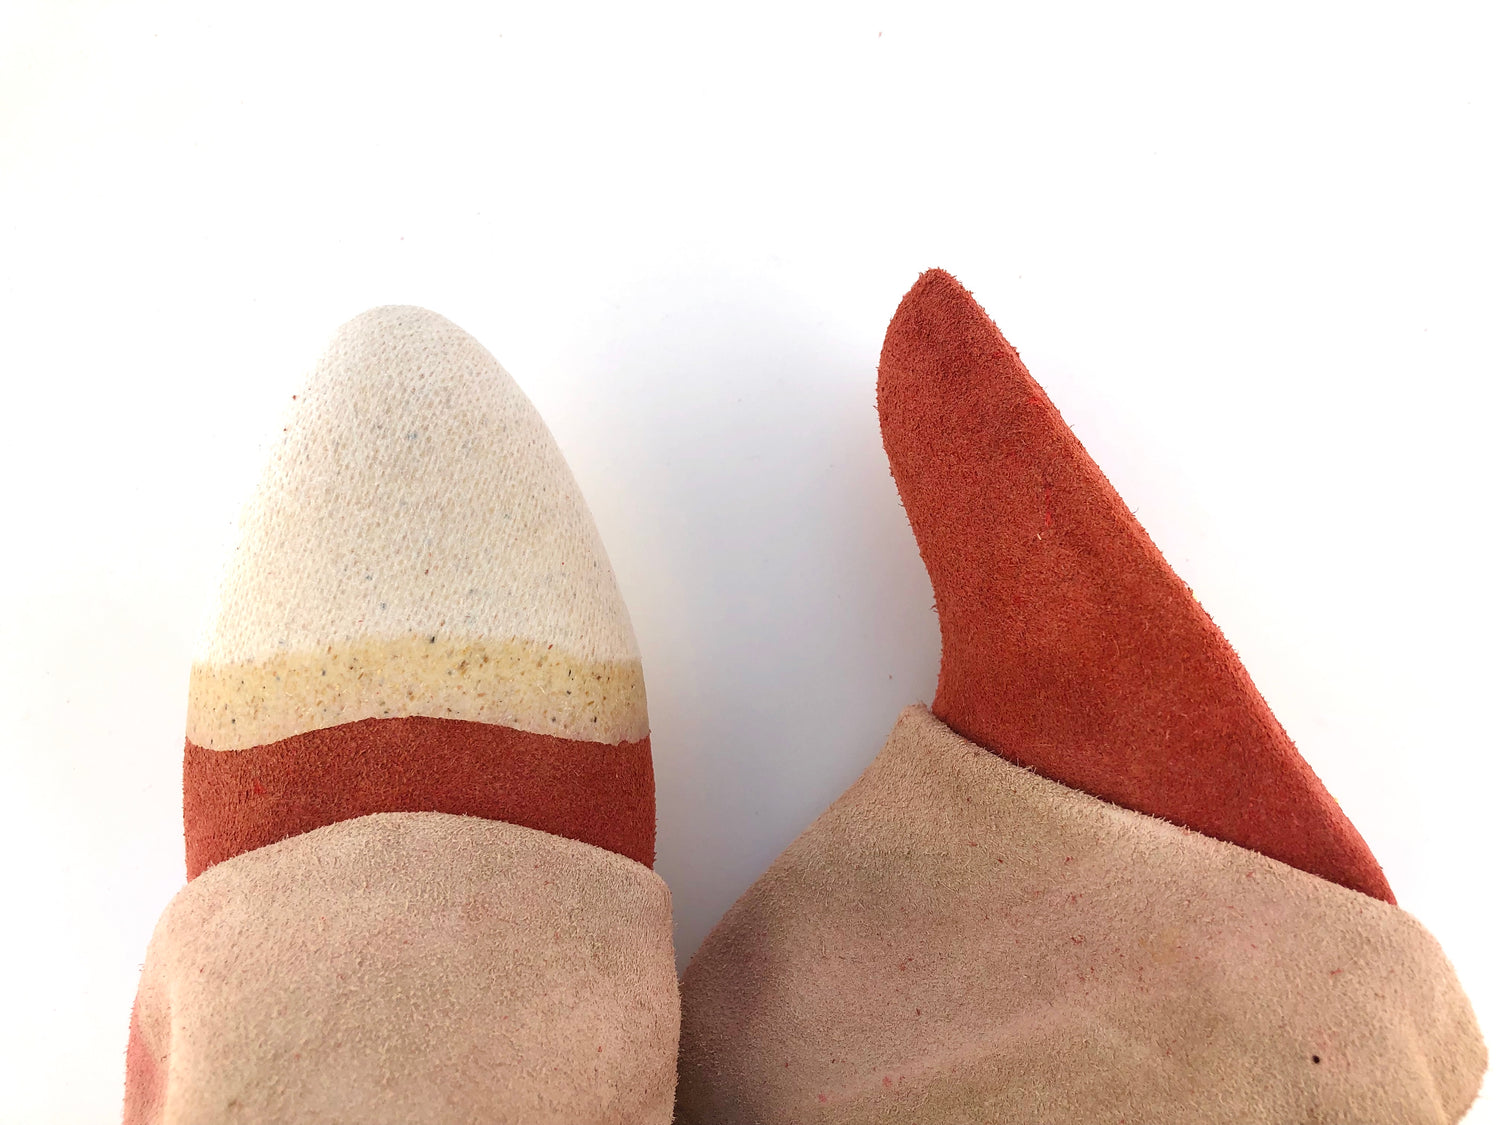
Step 5: Adding Reinforcement
After the liner is lasted the inner construction of the shoe is formed using stiffeners. This adds support and keeps the shoe shape from collapsing. Depending on the design, the stiffeners may or may not be lasted together with both upper and liner layers in the heel area.
The stiffeners are shaped with heat for thermoplastics, acetone for celastic or water for leather.
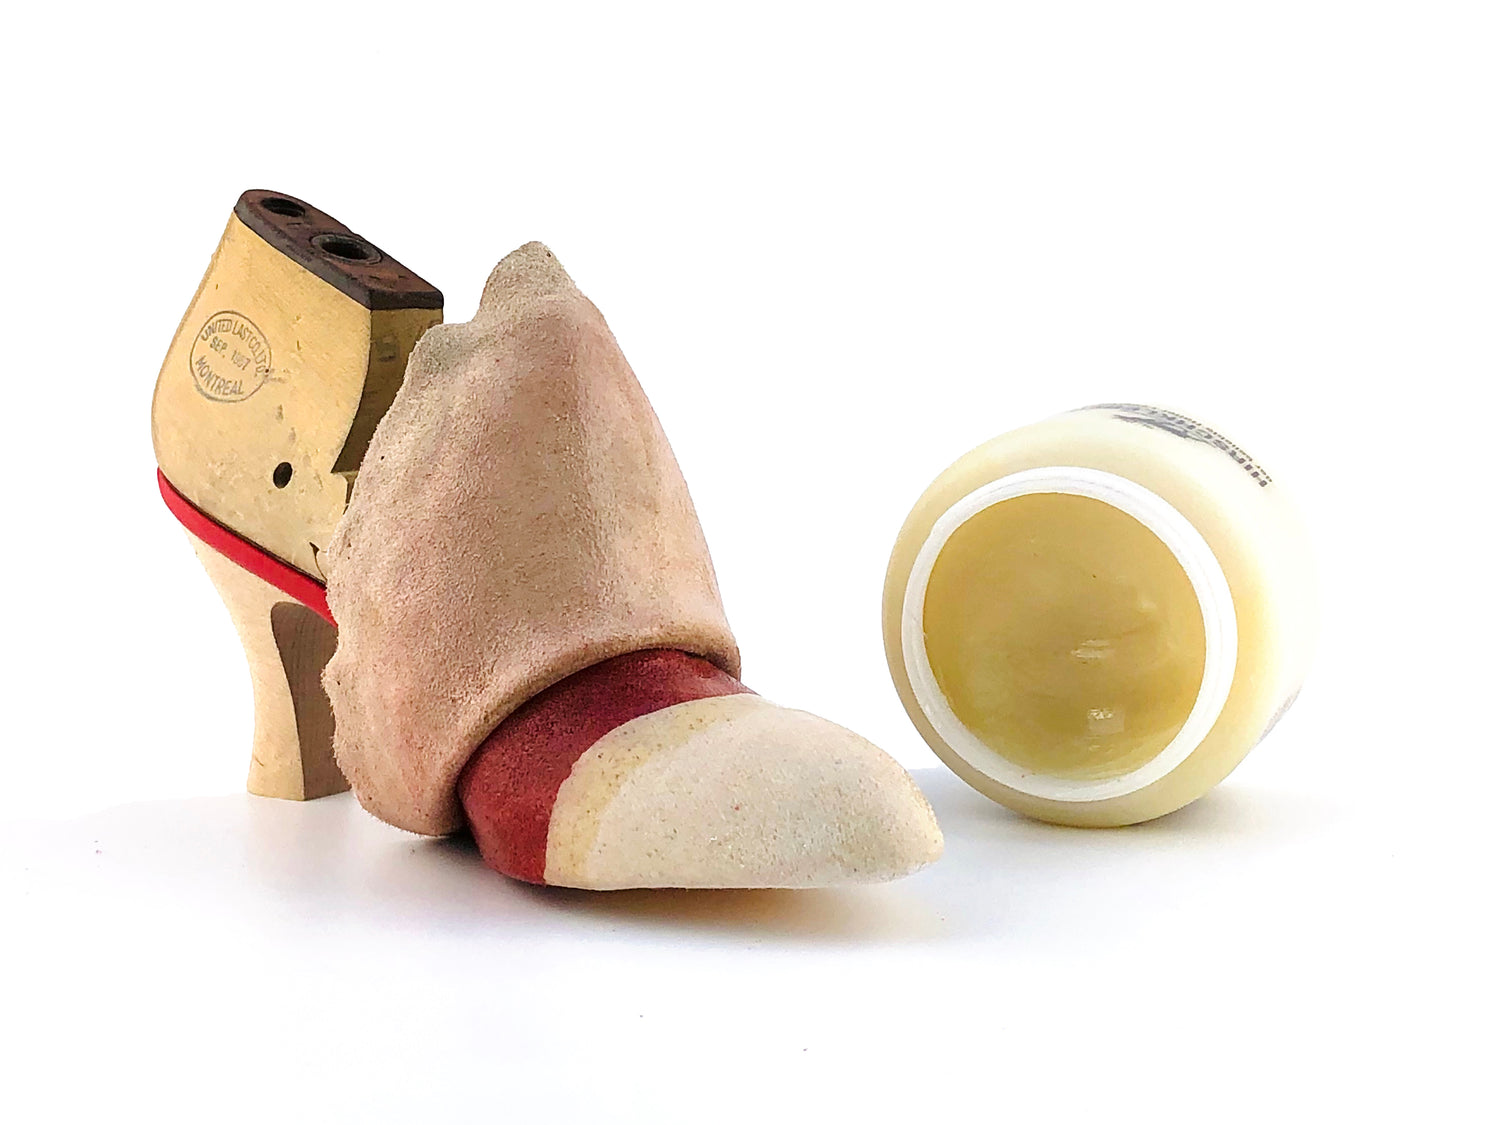
Step 6: Lasting the Upper
The upper leather is smoothed over the toe after applying a natural paste to hold the layers together.
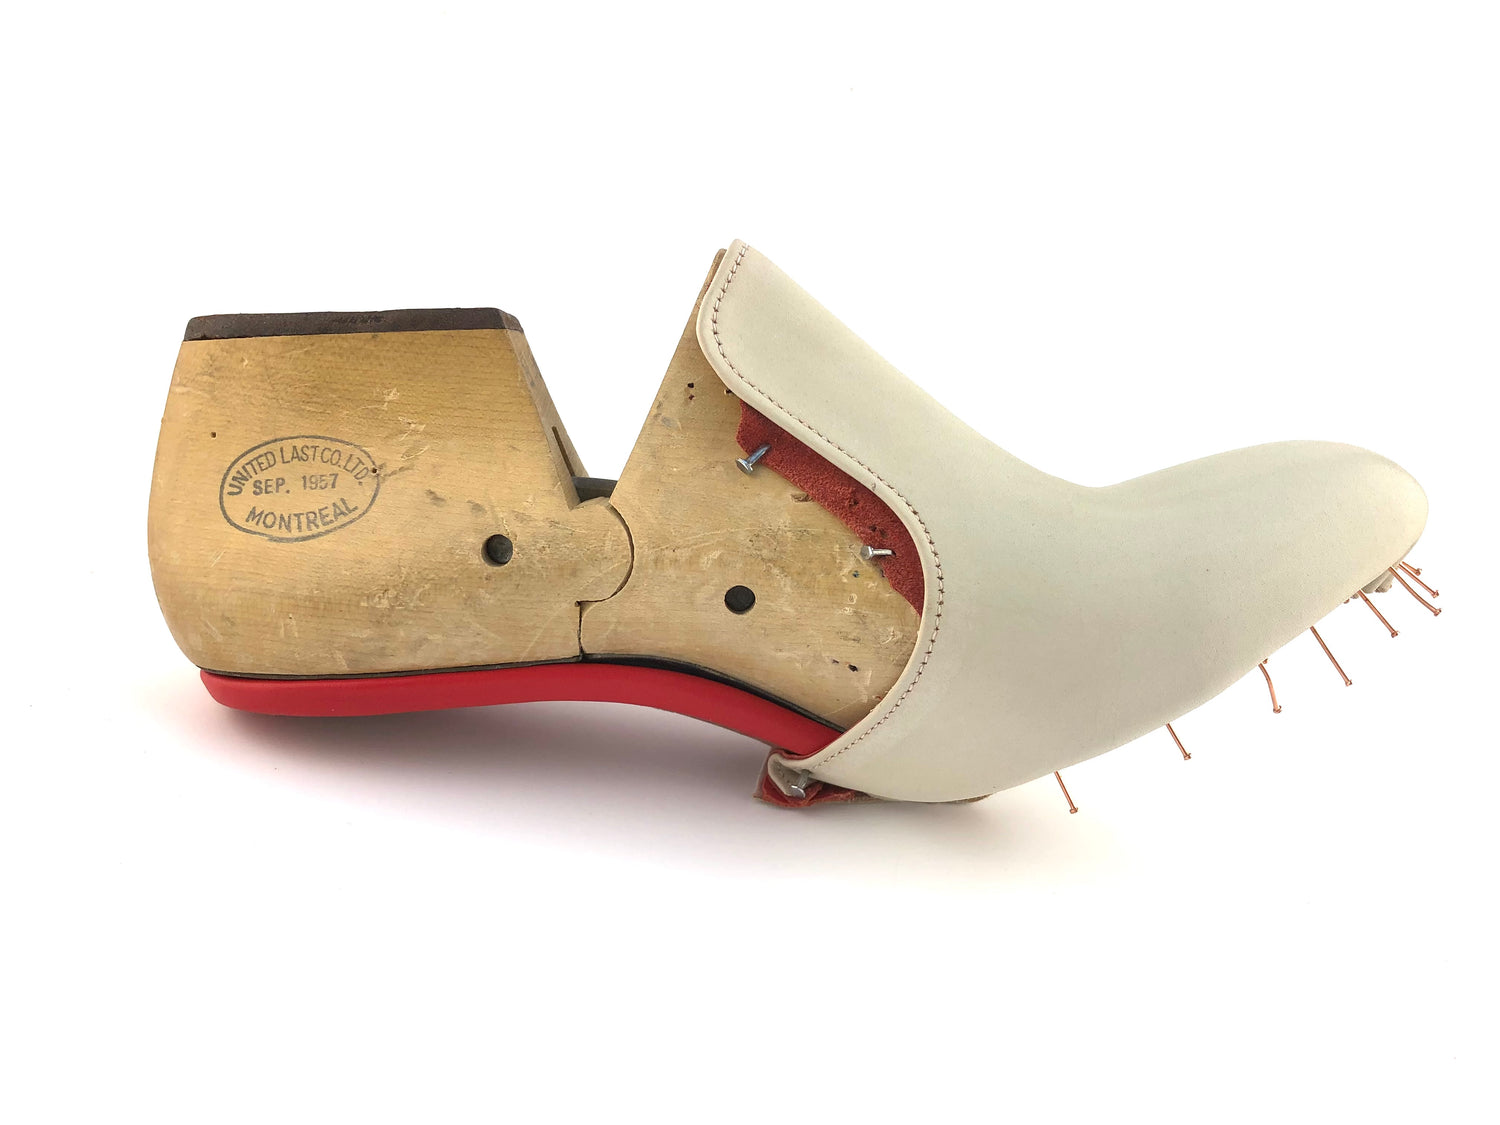
The leather is stretched over the toe and held in place with temporary nails.
In this case the toe was lasted before the heel, as the toe will be hand painted before attaching the back section to the front.
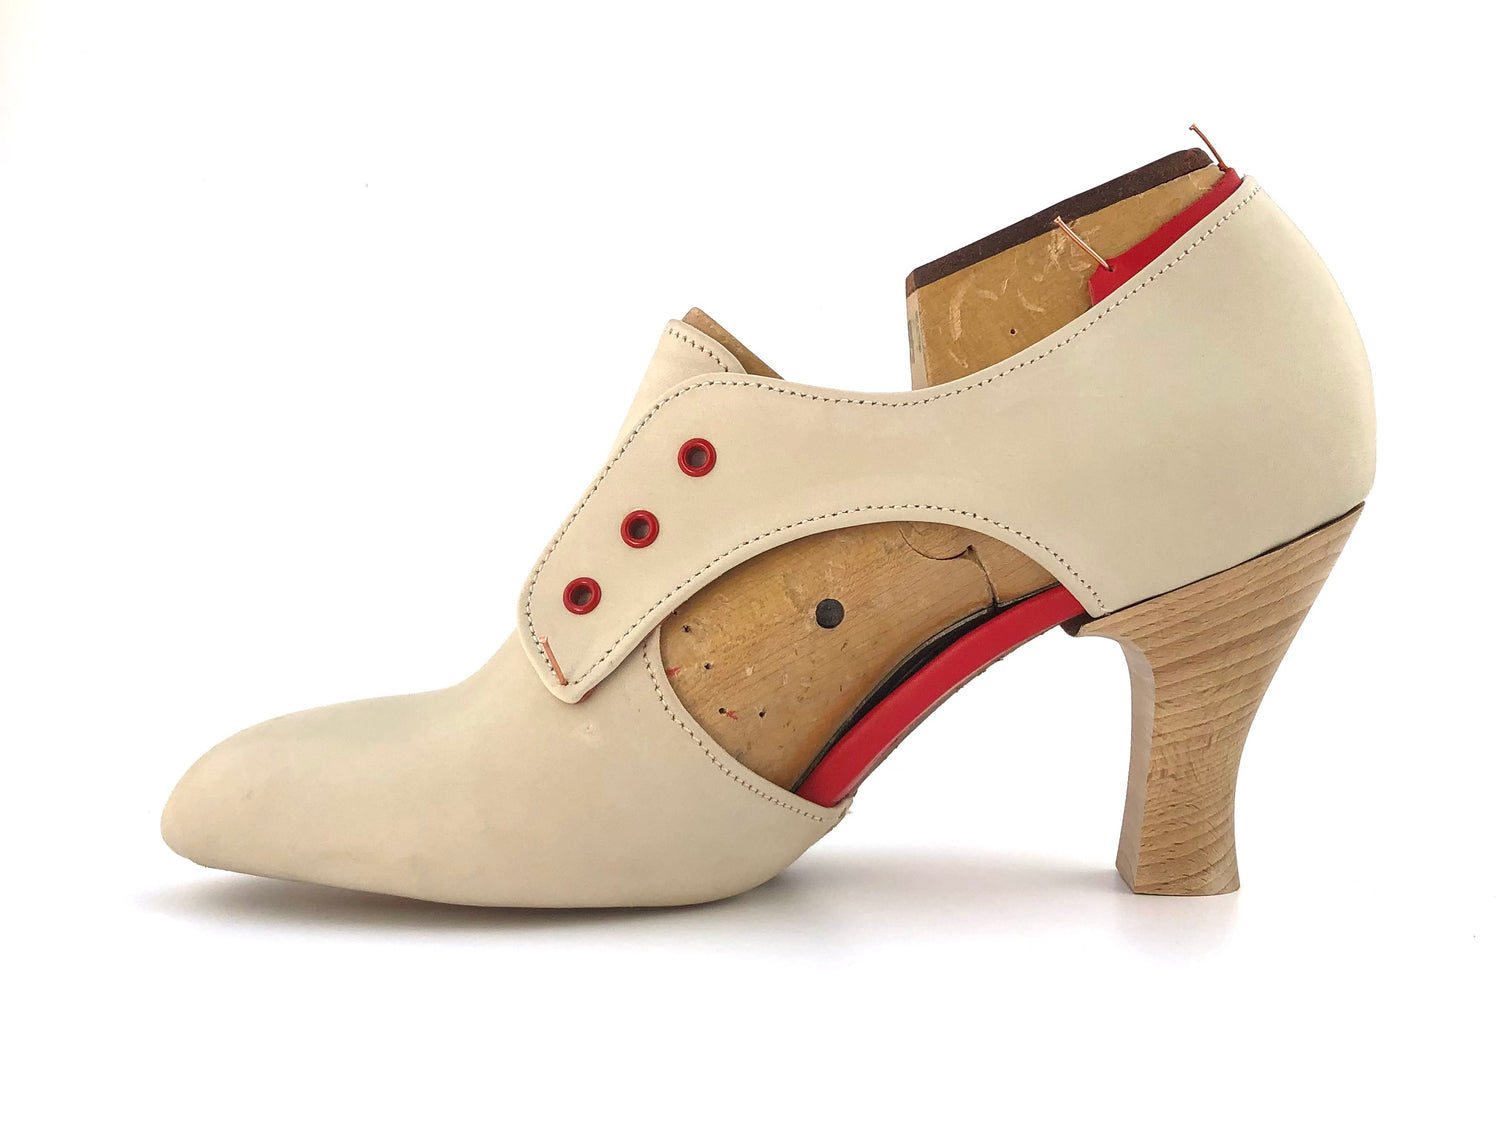
As with the liner, the upper is glued to the bottom of the insole with the excess material cut and shaved off.
The back portion of the shoe is lasted with both tacks and glue for a stronger hold.
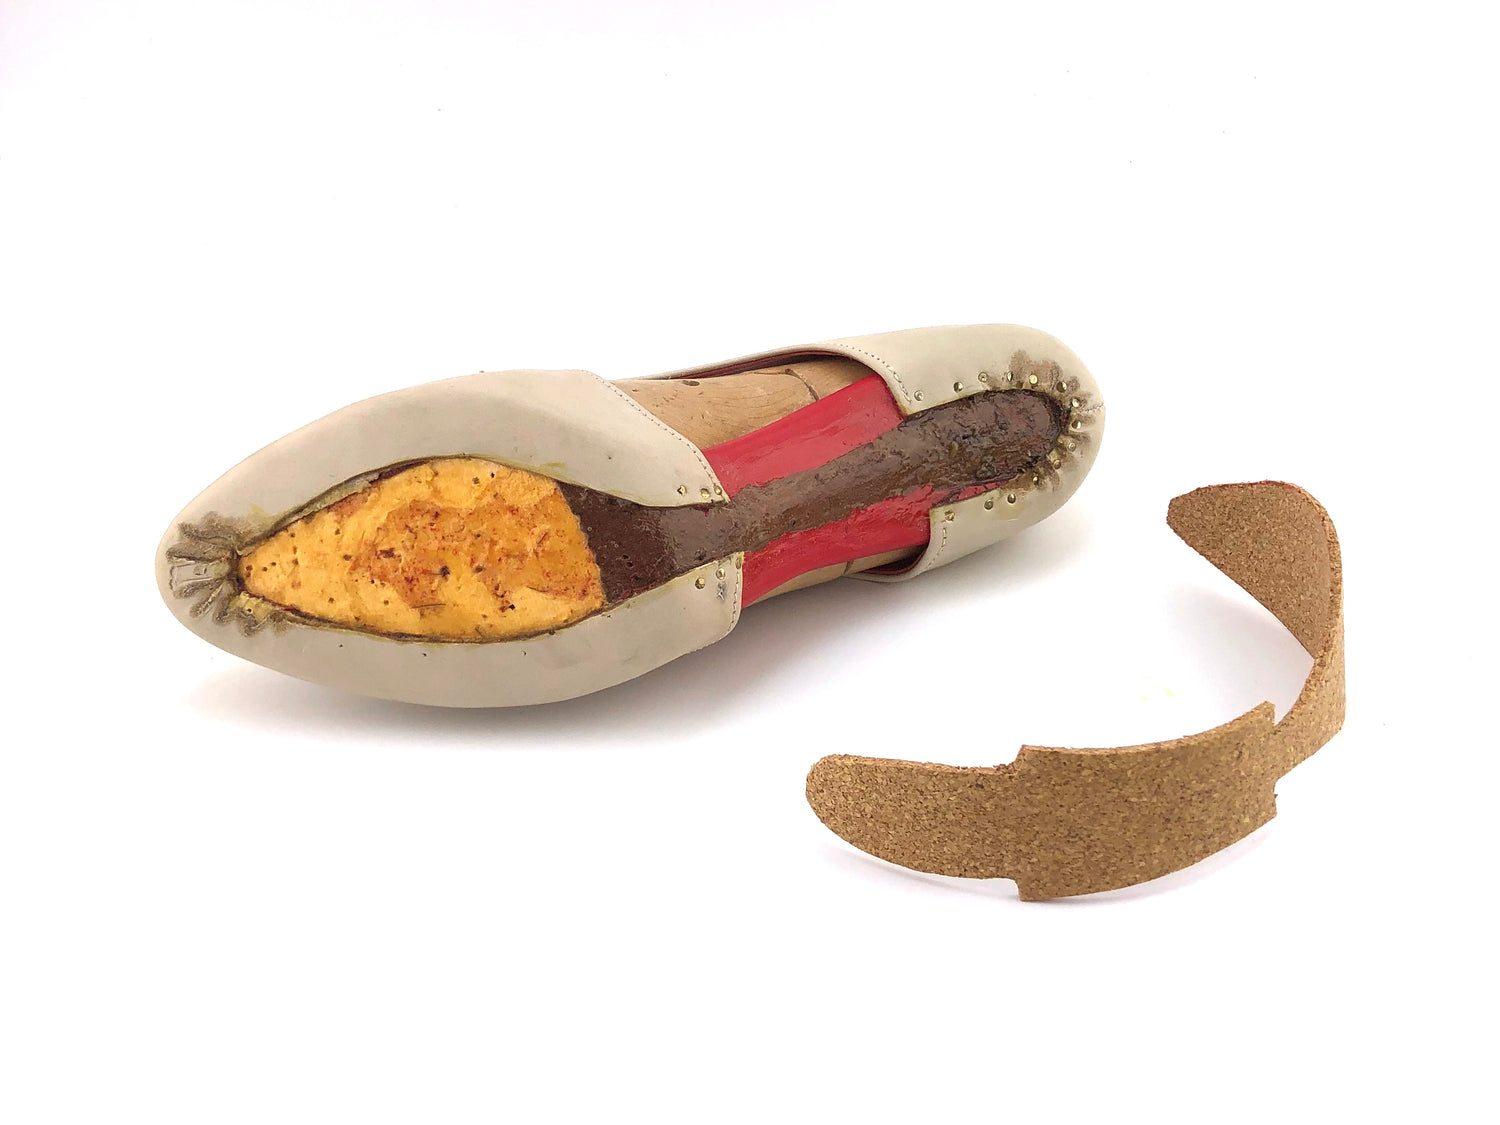
Step 7: Cork Filler
Once the upper is fully lasted, a cork filler is cut and applied to the bottom of the shoe to fill in the space so it lies flush. It also adds the benefit of cushy comfort for the foot.
The whole area is then filed down to create an even surface for the outsole application.
Step 8: Forming the Outsole
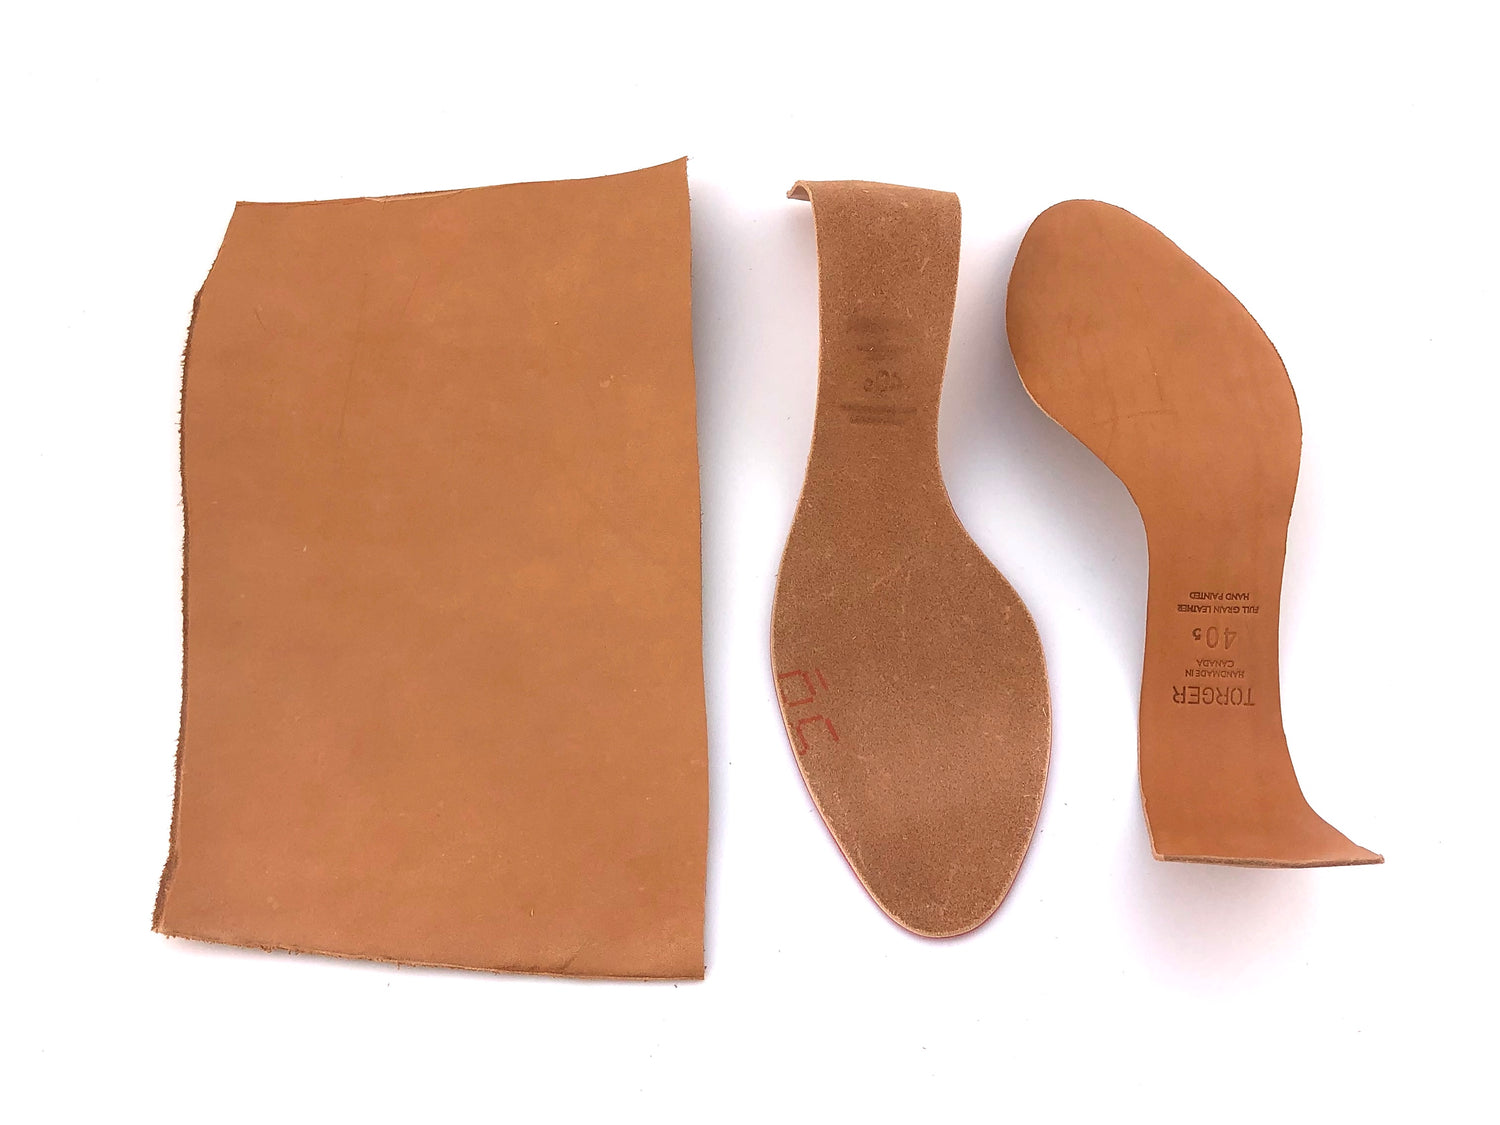
The outsole is made from vegetable tanned leather that's cut and pre-shaped by soaking it in water and pressing it to the bottom of the shoe. This rests overnight to allow the leather to dry into a firm yet flexible shape.
Step 9: Prep for Painting
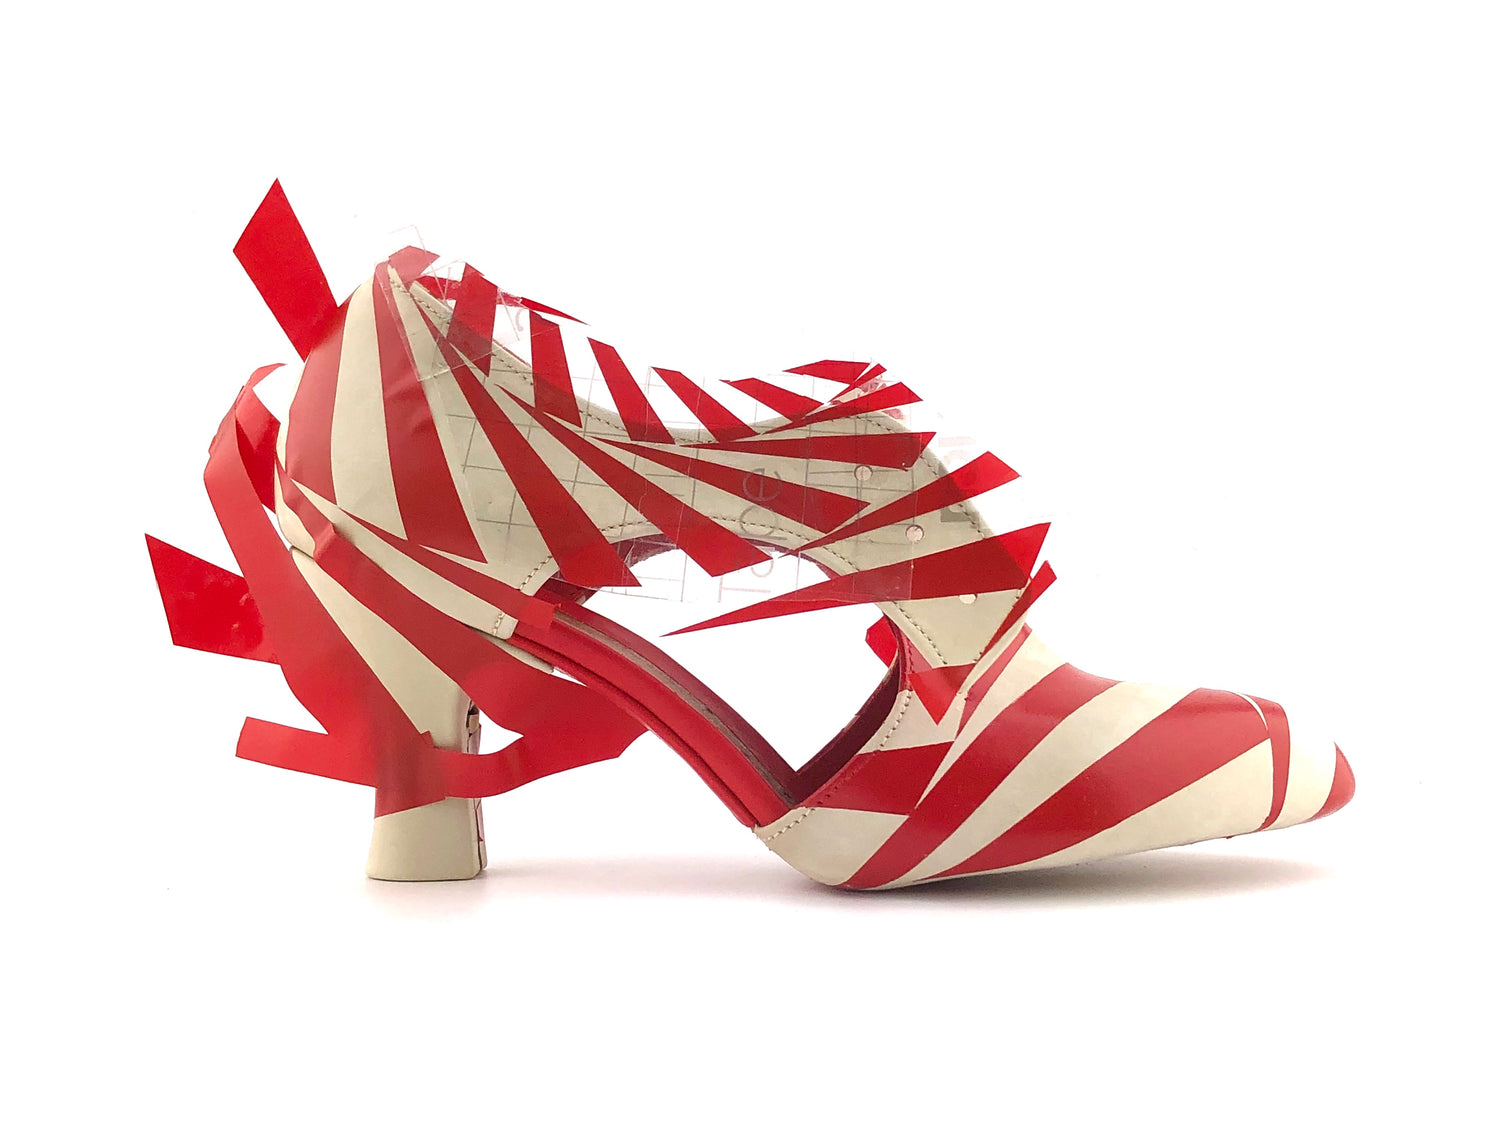
Before attaching the outsole the shoes are prepped for painting. This design uses stencils previously created and cut in-house on a machine. The stencils are placed by hand with the aid of transfer tape.
Step 10: Painting the Toe
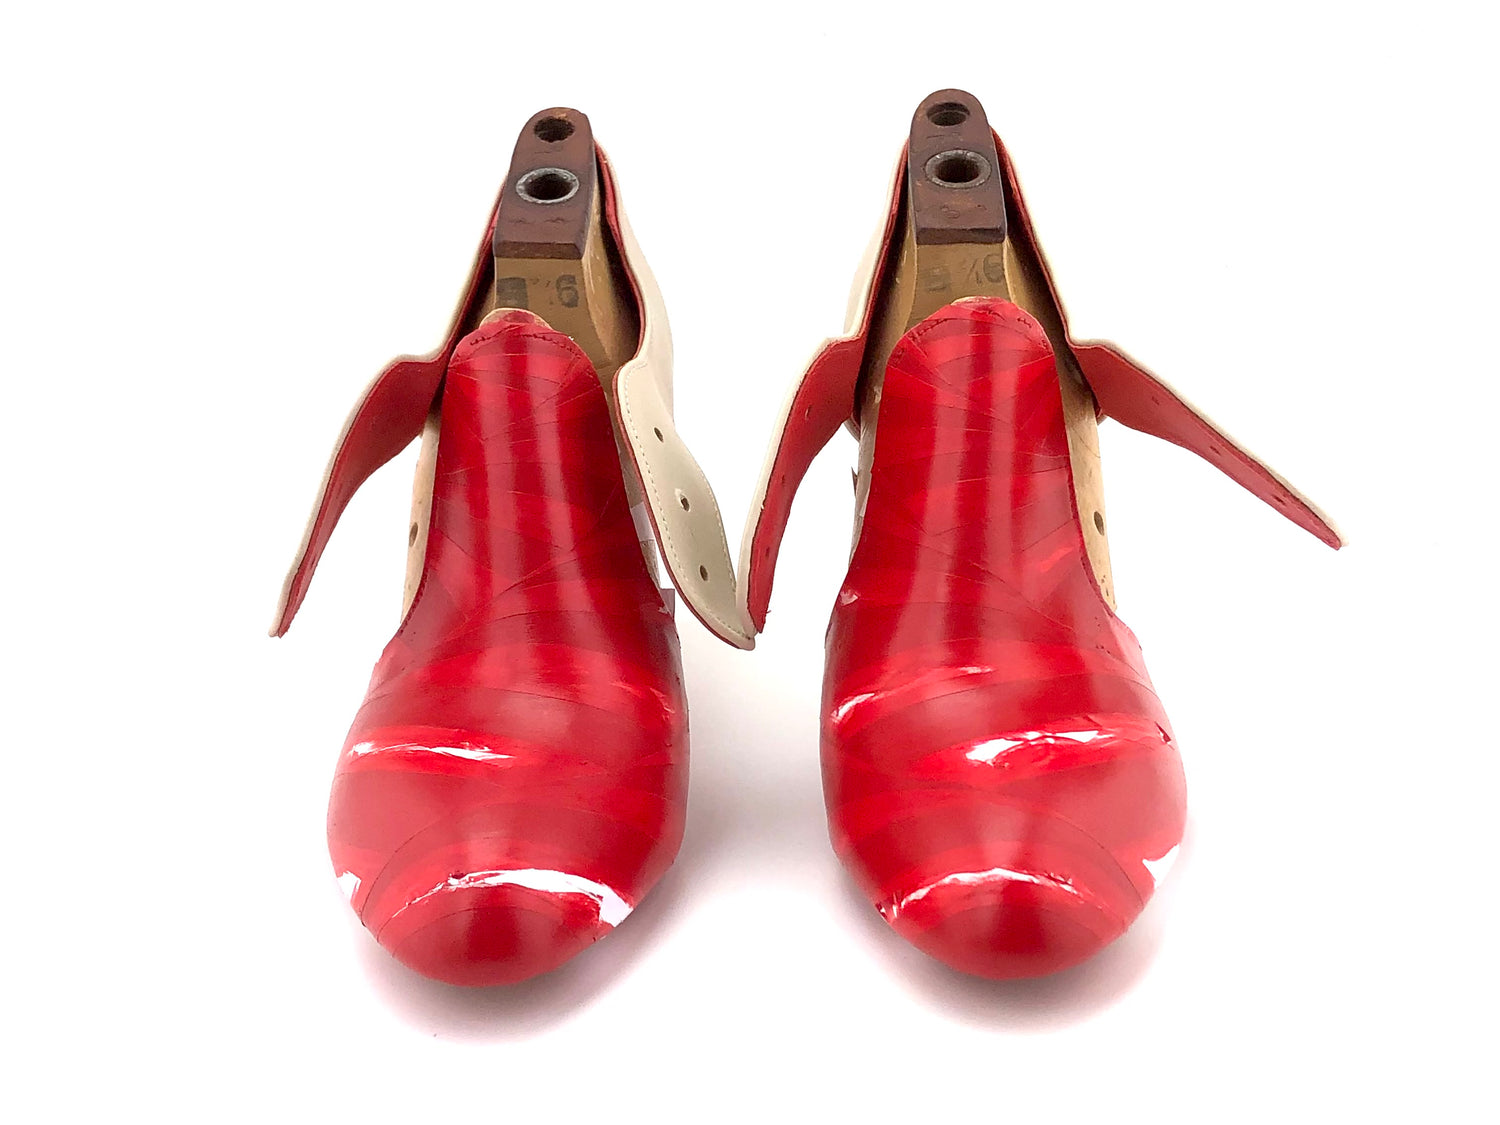
Leather dye and/or specially formulated acrylic paint is applied by hand with paintbrushes, ink pens and/or airbrush.
Once dry, a protective coating is applied before removing the stencil.
Step 11: Attaching the Heel
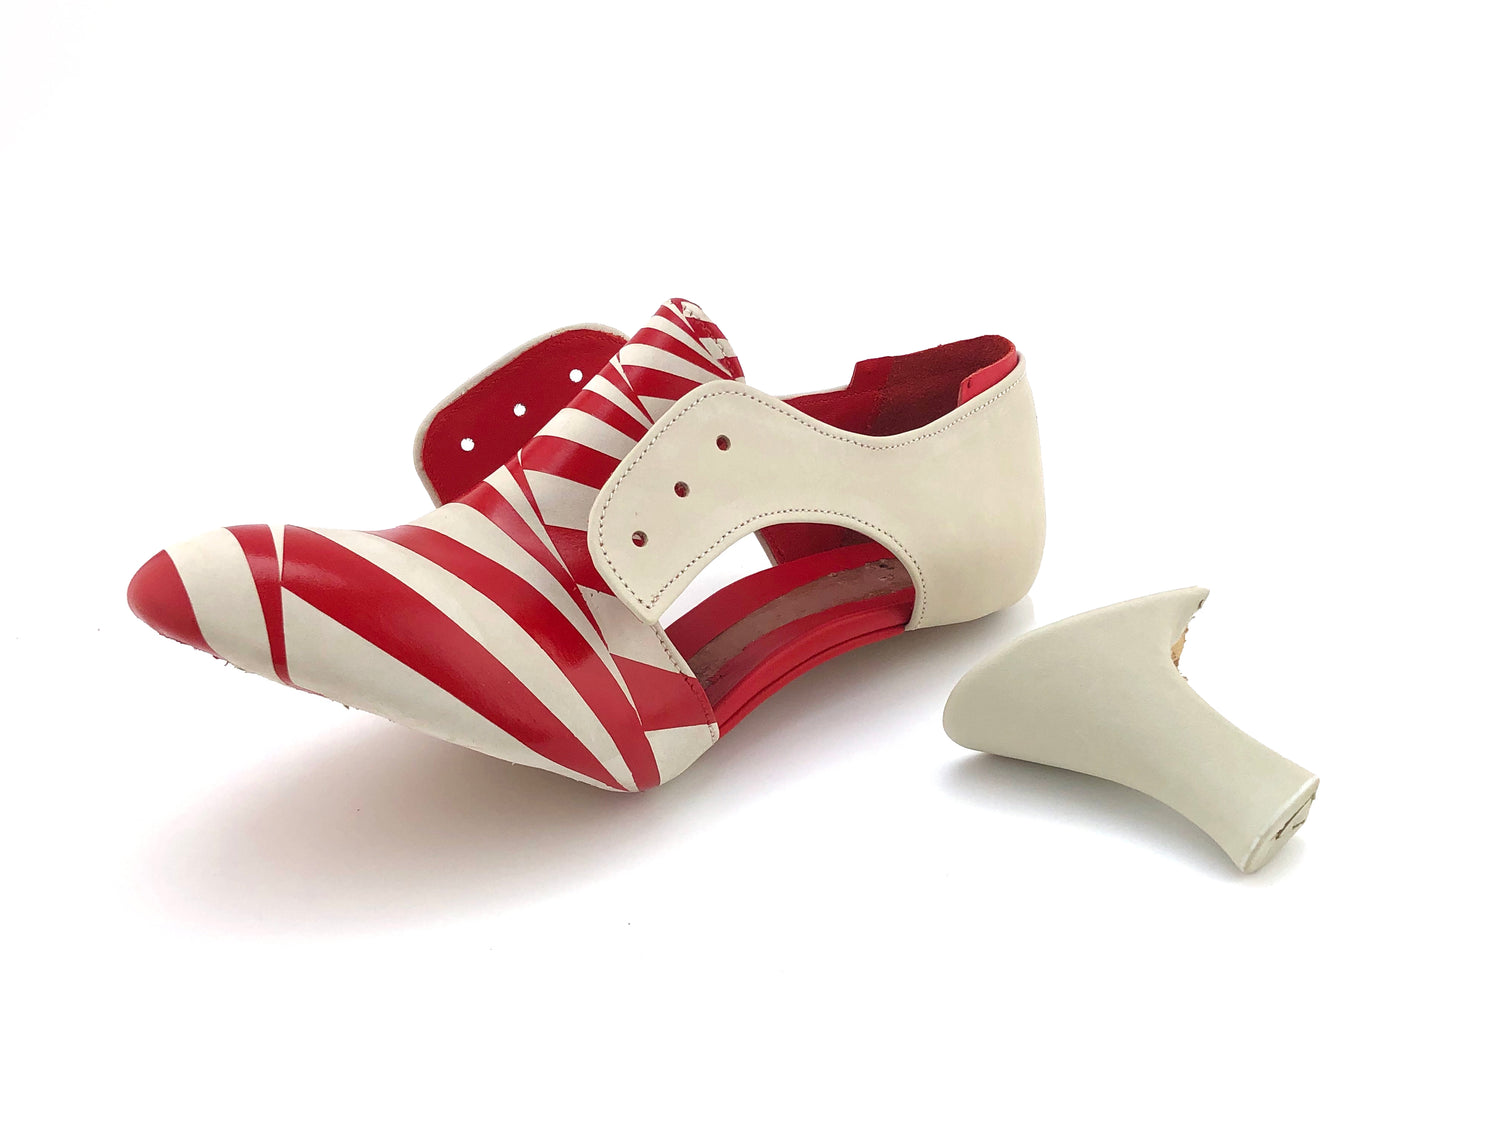
The toe section has been painted and the shoe removed from the last in order to attach the heel and the back portion to the front.
The wood heels are covered in the same crust leather as the uppers before attaching with glue and steel screws.
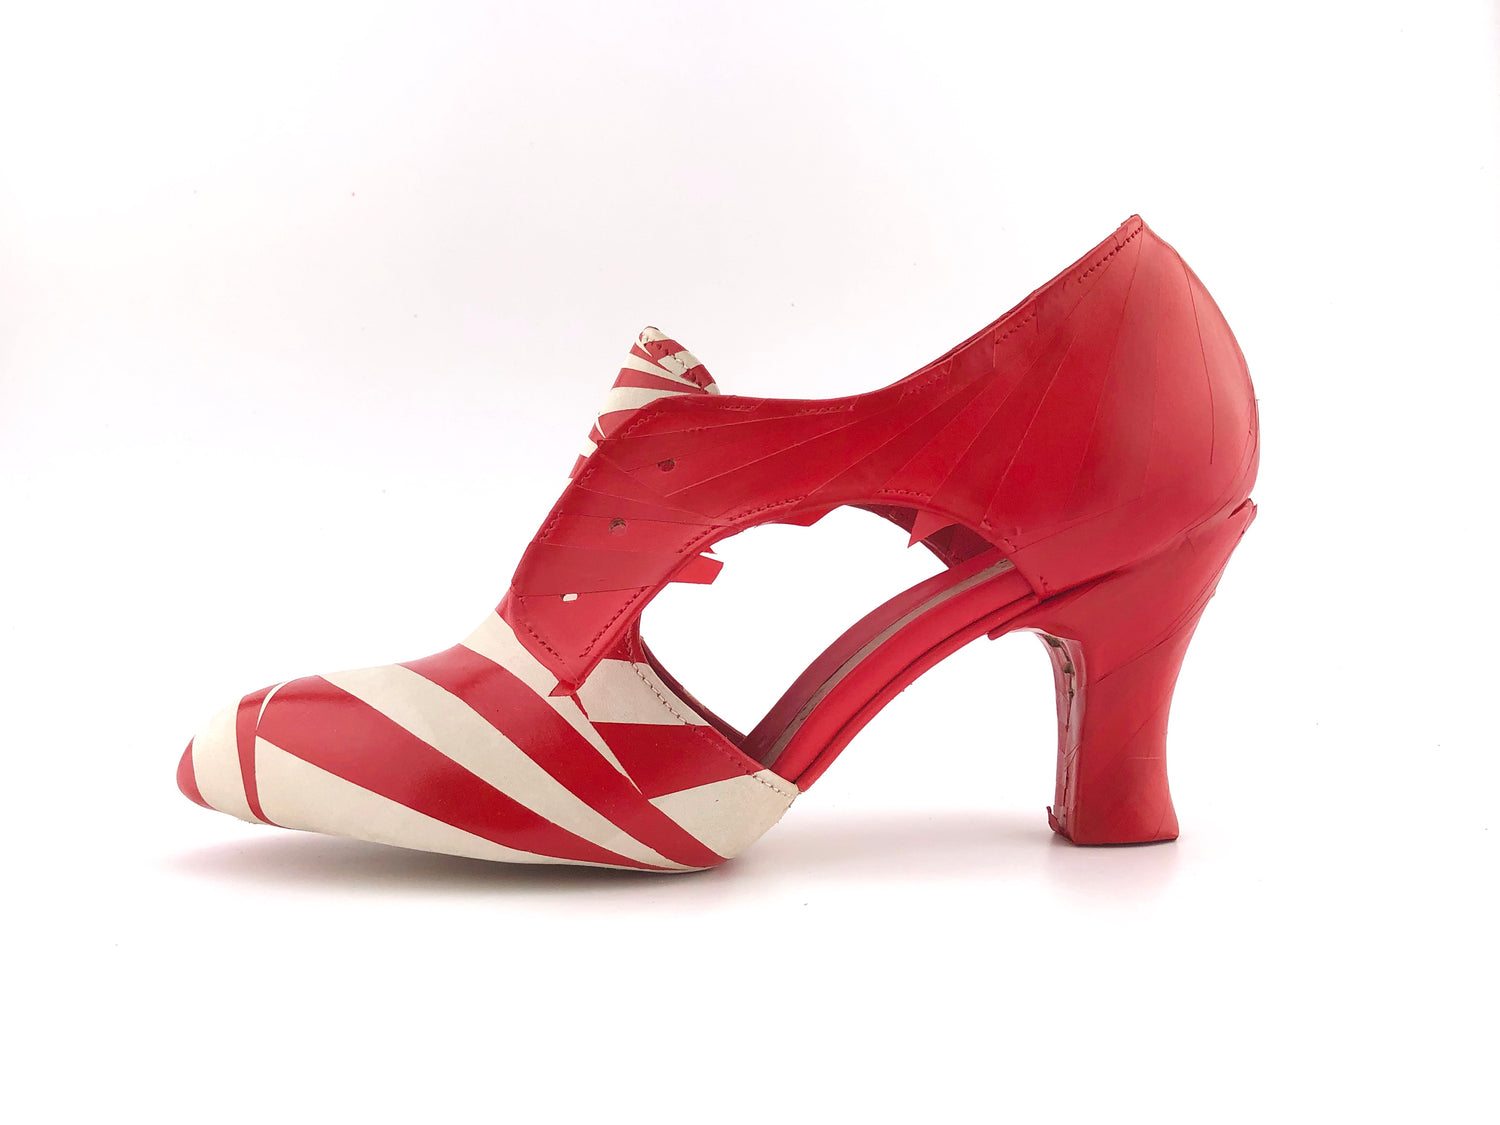
Step 12: Painting the Back
The same steps as prepping and painting the toe are applied to the back portion, making sure the design matches up with the front.
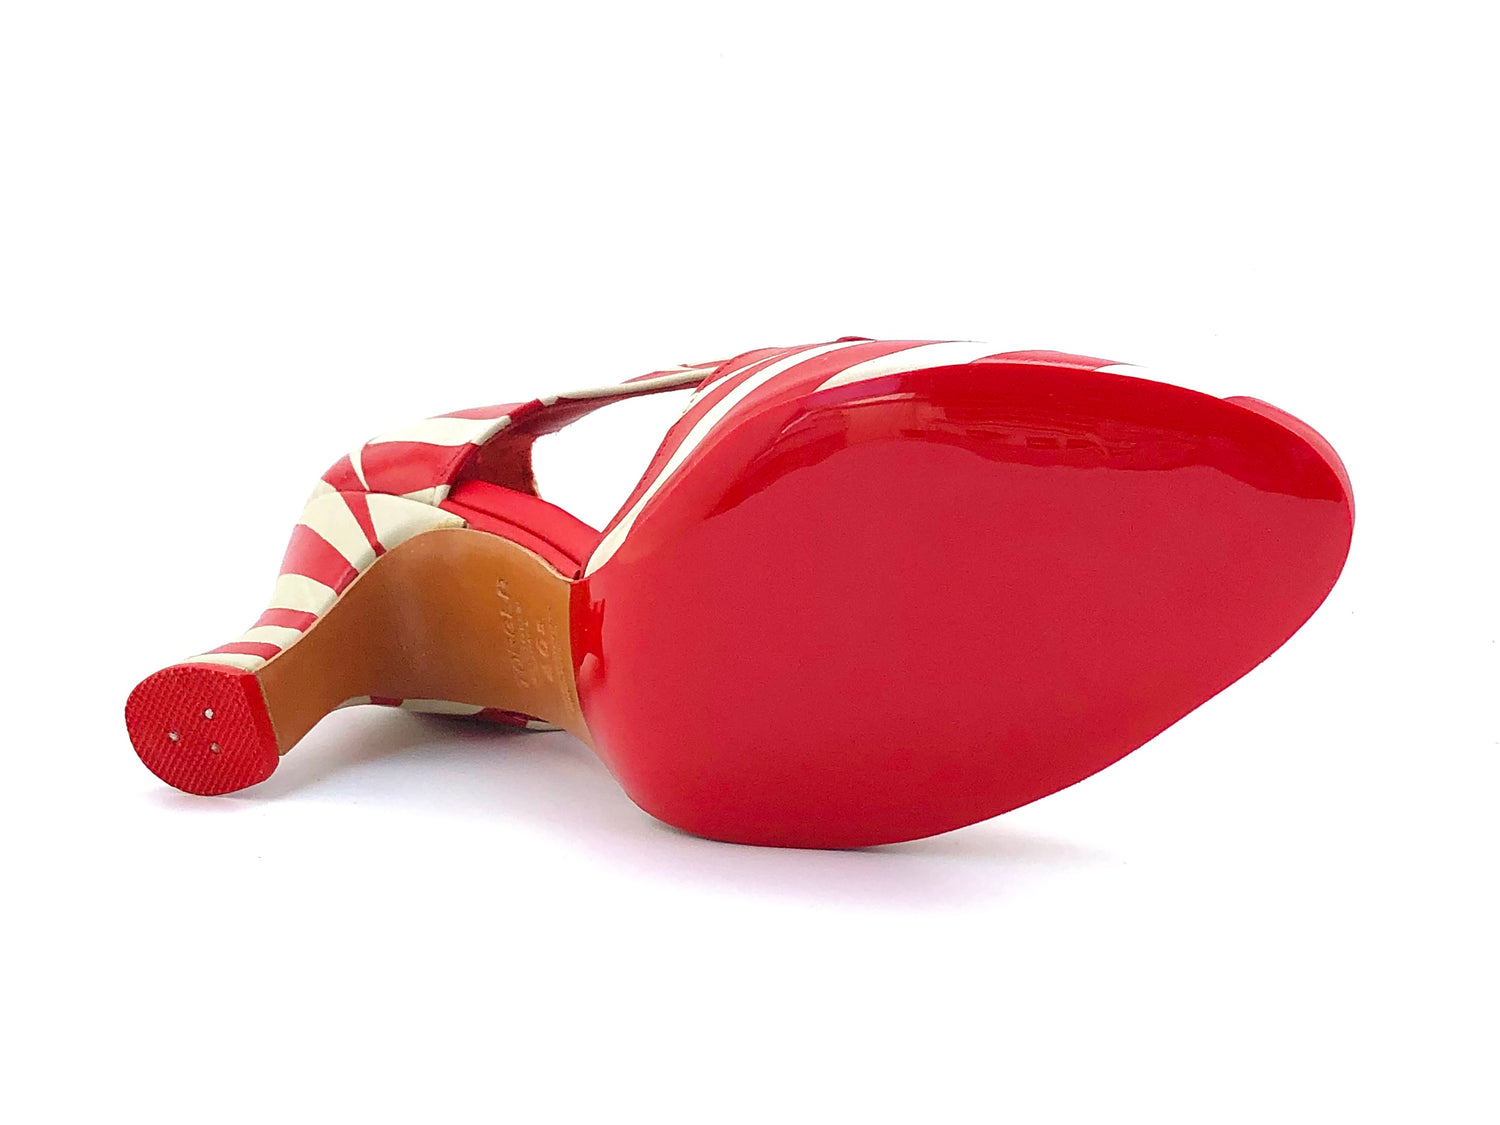
Step 13: Attaching the Outsole
After painting, the outsoles are attached via cemented construction using a strong flexible glue that bonds with pressure.
A red rubber grip and top lift are added to complete the look. The leather portion is finished and polished to a satin shine.
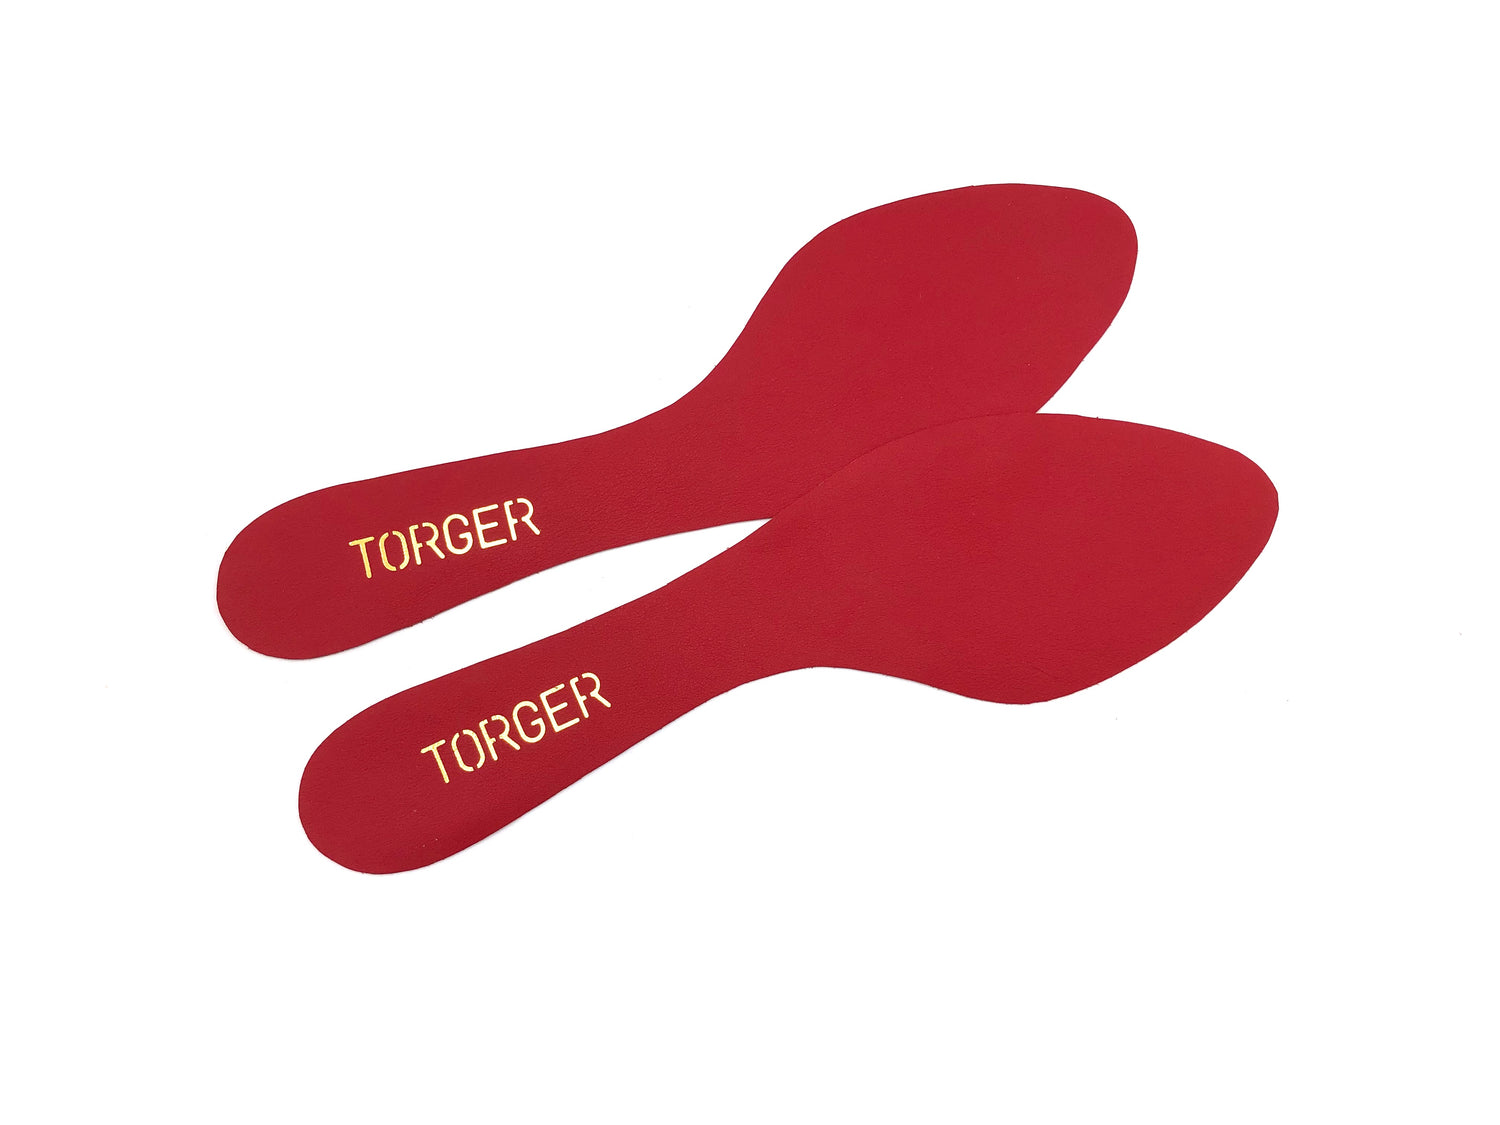
Step 14: Adding the sock liner
The last step is adding the sock liner. It's cut to size, hot stamped with the Torger label and glued into place with foam between for cushioning.
After approximately 80 hours of work, the shoes are now complete.
More on the process can be seen on Torger's social media through the links in the footer below.
